- Home
- Technical Products
Enterprise Cloud IT Solutions
Test Measurement
Industrial Measurement
- Solutions
Enterprise Cloud IT Solutions
Test Measurement
- Resource Center
- About Us
 EN
EN
Embedded Video Interface / Embedded Interface Video Capture Card
Easily add highly reliable GigE Vision and USB3 Vision connectivity to imaging devices such as cameras and x-ray flat panel detectors (FPDs)

Low-latency video to processors and displays via GigE Vision and USB3 Vision with 1-10 Gbps throughput

Hi-Tech's partner, Pleora, is a leading manufacturer of products for industrial, medical, security and defense applications.

Compact and low power consumption, easily embedded in small cameras, flat panel X-ray detectors and imaging systems
Selecting the right embedded video interface for your project
HONGKE's partner Pleora carries a wide range of product models, the cornerstone of technological excellence.
iPORT NTx-GigE
- Quickly add high-performance GigE Vision 2.0 connectivity to systems and cameras.
- Supports IEEE1588 Precision Time Protocol to synchronize video capture and other system devices for accurate video capture via IEEE1588.
iPORT NTx-mini
- Quickly add a high-performance GigE Vision connection to your camera
- Converts video data to network packets at full GigE speed: 1 Gbps throughput rate
iPORT NTx-Mini-S
- Small footprint, ultra-thin video card for small, high-performance GigE Vision connections for cameras and imaging equipment
- Converts video data into packets via GigE link and transmits them to the receiving software or hardware with low latency and high stability.
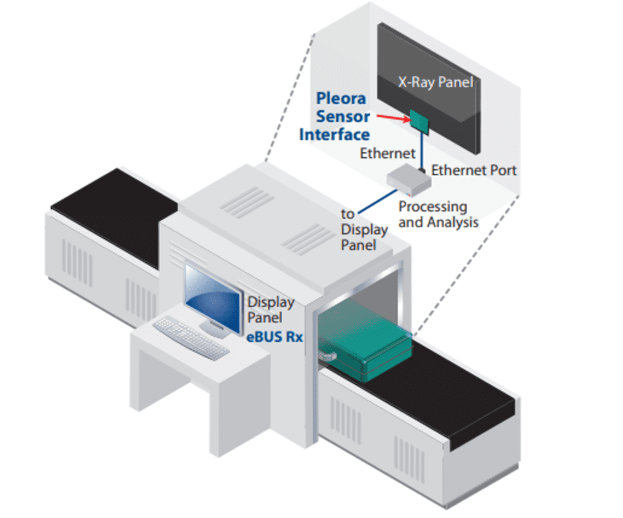
iPORT NTx-NBT25
- GigE Vision® 2.0 protocol can be easily integrated into imaging devices and systems via NBASE-T.
- Transmits uncompressed video at 2.5 Gbps over standard Cat 5e cabling over distances of up to 100 meters.
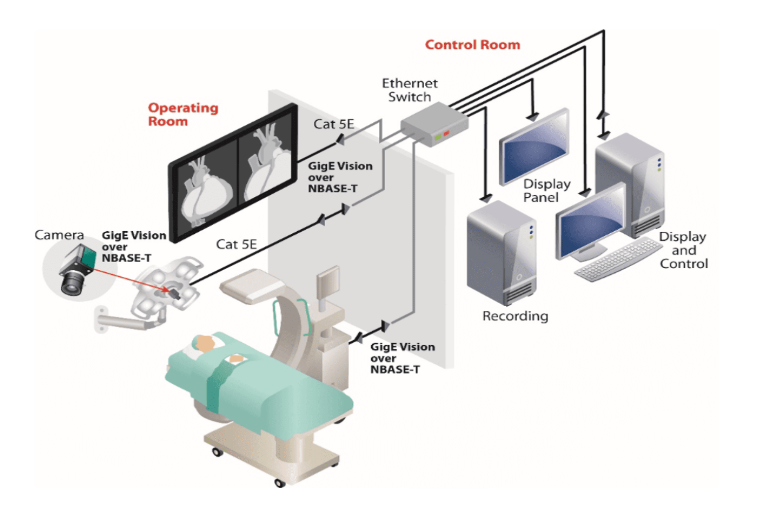
iPORT NTx-NBT50
- Easily integrates the high bandwidth GigE Vision® 2.0 protocol into imaging devices and systems via NBASE-T.
- Transmits uncompressed video at 5 Gbps over standard Cat 5e cabling
iPORT NTx-U3
- Quickly add high-performance USB3 Vision connections to systems and cameras, converting video data into packets with up to 3 Gbps throughput
- Packetized video is transmitted to the receiving software via USB 3.0 connection with low latency and stability.
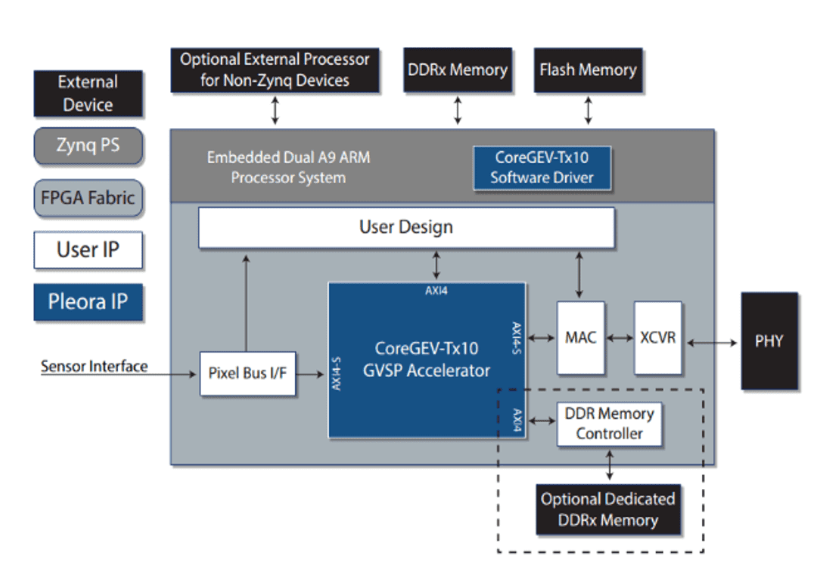
CoreGEV-Tx10 GigE Vision FPGA IP Core
- IP Core features a flexible, fast transport architecture that provides robust, low-latency and high-performance GigE Vision® transport for sensor systems
- With the FGPA IP Core, uncompressed images are transmitted at 10 Gbps in the standard GigE Vision mode.
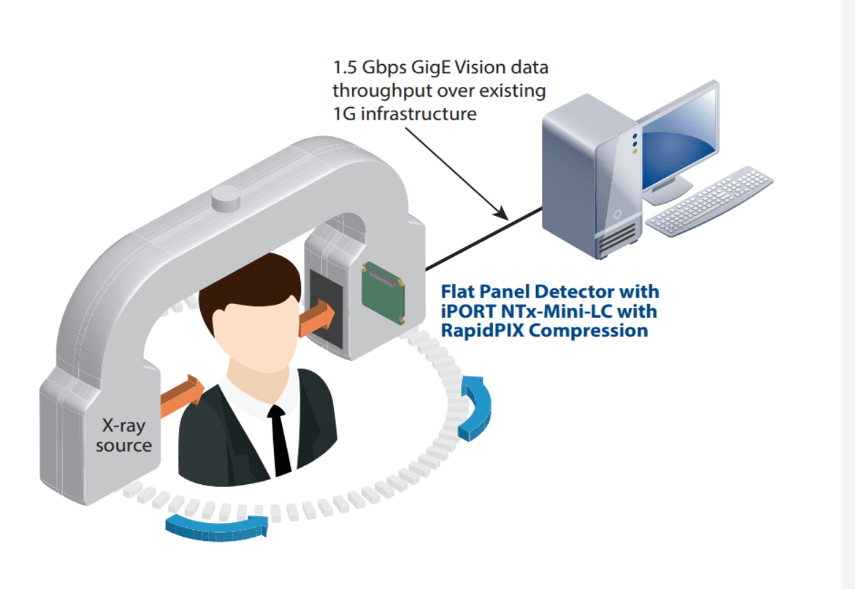
iPORT NTx-Mini-LC
- Embedded video interface with RapidPIX™ to seamlessly increase bandwidth throughput up to 50% while leveraging existing Ethernet infrastructure
- Converts video data into GigE Vision-compliant packets and delivers up to 1.5 Gbps throughput on existing 1 Gbps infrastructure
Application Scenarios
Focusing on the vision field, covering a wide range of industries; based on application scenarios, to solve the needs of the sub-segments. We can also customize an integrated solution for your project, please contact us for more information.
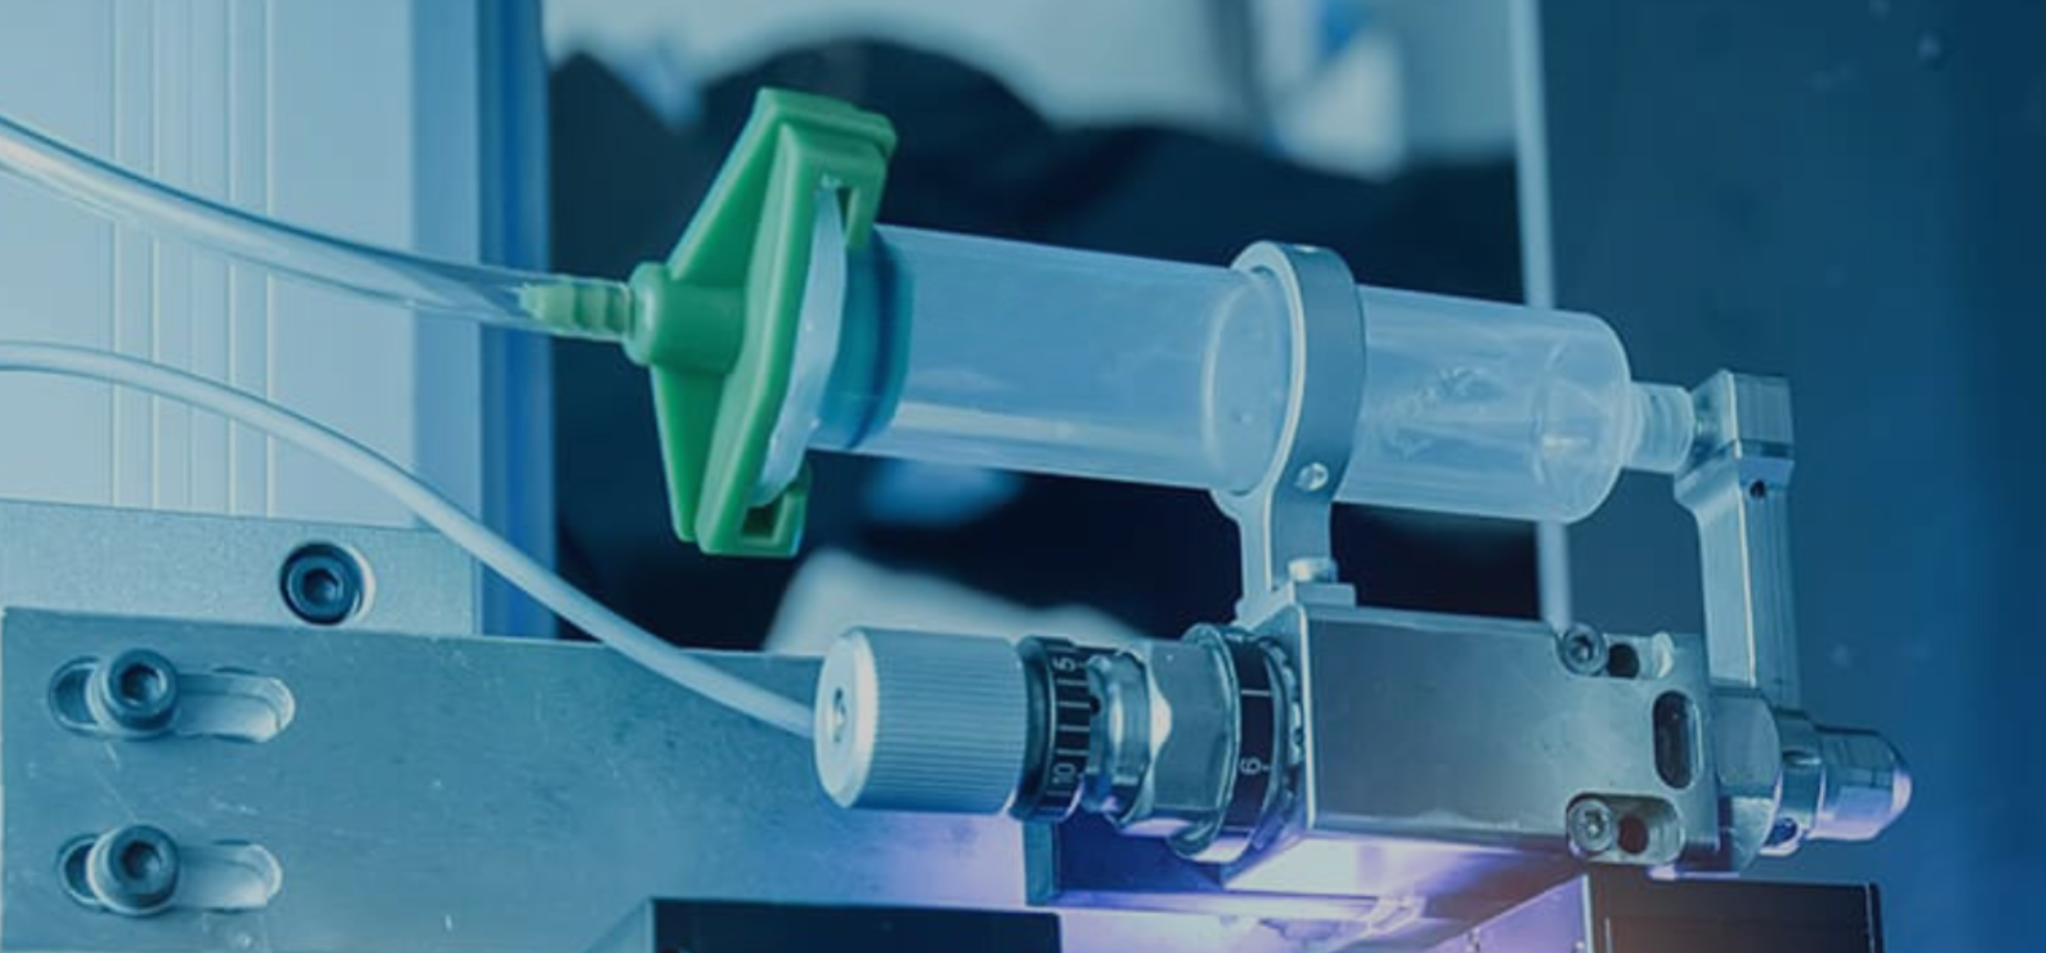
Industrial Cameras
Embedded solutions enable manufacturers to easily design, prototype and launch new GigE and USB3 Vision cameras to seize opportunities faster, minimize risk and reduce costs

Medical Radiography
Leveraging the networking and cost advantages of Ethernet to develop high-performance panels for digital radiography and fluoroscopy, supporting video transmission over Gigabit Ethernet (GigE), GigE over NBASE-T (2.5 Gbps and 5 Gbps), and 10 GigE
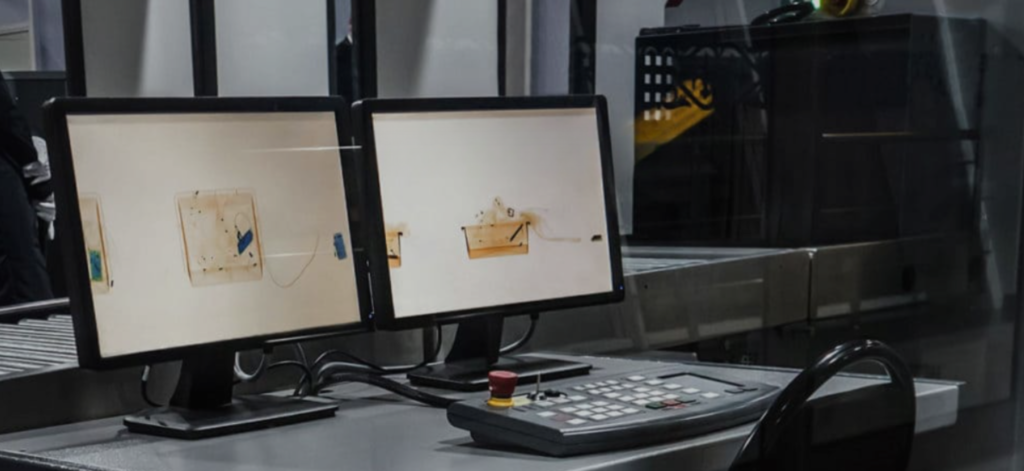
X-Ray Detection System
High-bandwidth, off-the-shelf interface solution for industrial FPDs designed into cargo scanning systems, which reduces the cost of operating transportation hubs and improves safety standards by dramatically improving the screening intelligence of the inspection system and reducing false alarm rates.
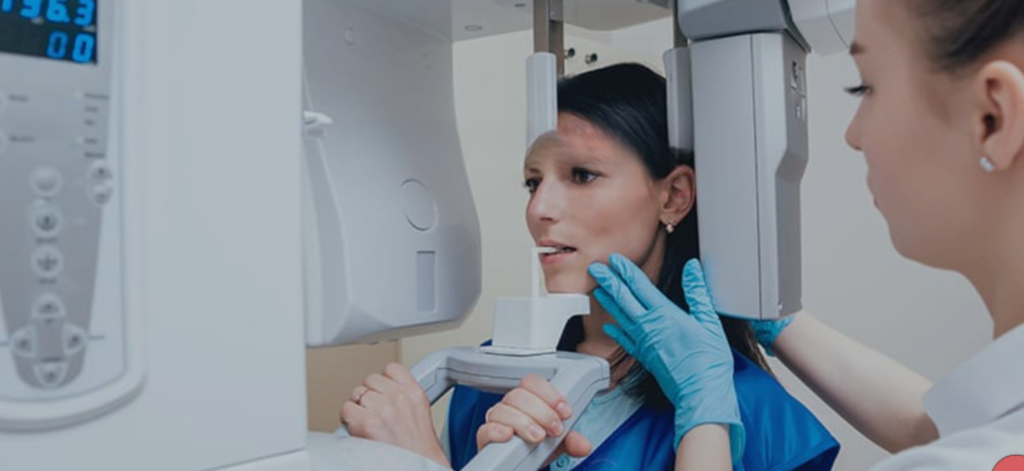
Dental Radiography Program
Simplifies the design of flat panel detectors for panoramic radiography and x-ray dental systems, helping manufacturers quickly and easily integrate high-performance sensor connections into their products
Embedded Video Interface Benefits
Solid foundation, precise standards; customized development, deep expertise; Terasic's real-time network solutions for cameras, sensors, and processing and display systems help your projects succeed.

Multi-Data Interface Support
Supports USB 3.0 and GigE Vision protocols

Unlimited input formats
Supports LVTTL/LVCMOS/LVDS video inputs

Data Compression
Seamlessly Increase Bandwidth Throughput up to 50%

Support PTP, multicast function
Leverages the advantages of Ethernet with precise time synchronization and multicast capabilities

Recording and replay support
Effective recording and displaying of captured images

Supporting Technical Services
Support windows, Linux, ARM and other platforms, provide software secondary development kit support.
Frequently Asked Questions
Technical support and paid services to drive your project to the limit.
Provide specific application requirements, including but not limited to:
1. What is the object to be detected and what is its size range? What is the size range of the detected object, or the field of view requirement?
2. Motion detection or static detection? Frame rate requirement?
3. What is the required working distance?
4. Precision requirements?
5. Other requirements such as IR/AF/IP67/bare board/interface?
- Ensure that the camera driver is properly installed.
- Try connecting the camera to a different USB port.
- Ensure that the computer's USB interface and drivers support the connected camera model.
- Try connecting the camera to a different USB port.
- Ensure that the computer's USB interface and drivers support the connected camera model.
- If the problem persists, please contact Yostek's technical support team for assistance.
1. Use uEye Cockpit to connect to the camera.
2. Click on the fifth icon from left to right to open the camera attribute.
3. Adjust the corresponding parameter values as needed and then save the settings.
1. Use uEye Cockpit to connect to the camera.
2.Setting Image Acquisition Parameters
3. Click File->Save Image to save the image.


